
SmartPTT update process can be divided into the following steps:
- Save configurations of SmartPTT Dispatcher and SmartPTT Radioserver. This step is not obligatory, because the system moves configurations automatically. But, to be 100% sure that your system configurations are safe, you can export and save them.
- Uninstall current SmartPTT system.
- Install the new version.
- Apply the saved settings (if needed)
In most cases, steps 1 and 4 can be missed.
Save SmartPTT settings
Saving configurations is not a mandatory step; it is only needed as a precaution against unexpected installation issues. Additionally, saved settings can be used if you decide to downgrade SmartPTT at a later time.
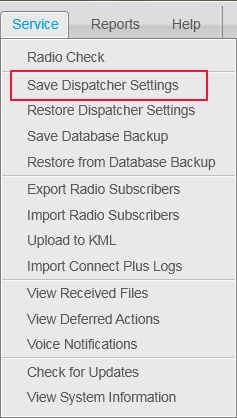
This step is highly recommended for large production systems.To save SmartPTT Dispatcher settings, go to Service > Save Dispatcher Settings.
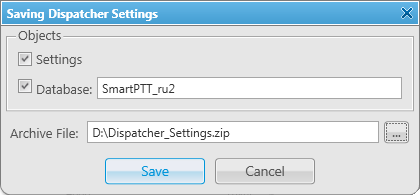
- In the window that opened, select what you want to save (Settings and/or Database). Specify the folder name and click Save.
- Before saving the settings of the Radioserver, stop it. Go to the Export/Import Settings tab and click Browse in the Export group box.
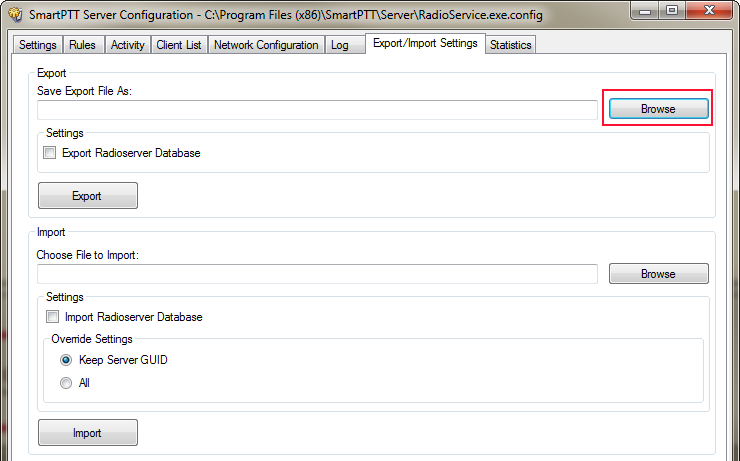
Specify the folder where to export the settings. Select Export Radioserver Database, and then click Export.
Uninstall SmartPTT
Before uninstalling SmartPTT Radioserver, make sure that the radioserver is stopped. Do not uninstall SmartPTT Radioserver if it is running.
As for SmartPTT Dispatcher, you can install a new version of SmartPTT Dispatcher without uninstalling the old one.
To uninstall SmartPTT Radioserver, click Start > Control Panel > Programs and Features. In the opened list of programs, right-click on SmartPTT Radioserver, and click Uninstall.
Install SmartPTT
After downloading the SmartPTT distribution package, extract its contents into a separate folder.
Run the SmartPTTSetup-x64.exe file to start the installation.
Begin by installing SmartPTT Radioserver and SmartPTT Dispatcher. The installation process will be guided by the setup wizard.
Follow the steps provided in the setup wizard to complete the installation.
Once the installation is finished, close the setup window.
When SmartPTT is installed, all settings are automatically transferred to the new version, so there is no need to import them manually.
Enjoy the new version of SmartPTT.
Import SmartPTT Settings
Please note that importing settings is only possible if the export was created from the exact same version and build of SmartPTT. Using a different version or build may cause database or configuration corruption.
Here’s a short guide on importing settings, which may be useful in specific cases—for example, when SmartPTT is installed on another PC with the same version.
- Open SmartPTT Radioserver Configurator and stop the radio service.
- Go to Export/Import Settings tab and press the Browse button in the Import group box. Select the folder where you saved settings of the previous version.
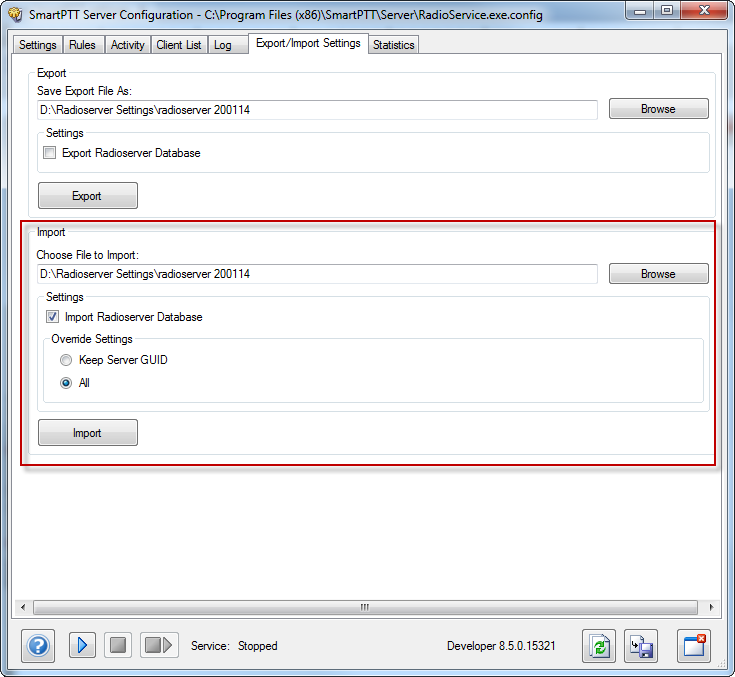
Select the Import Radioserver Database and All options. Click Import. Then, click Save and run the radioserver.
- Run SmartPTT Dispatcher. Go to Service > Restore Dispatcher Settings.

- In the window that opened, select what you want to restore (Settings and/or Database). Specify the name of the folder with the settings. In the Database field specify the name of the new database.
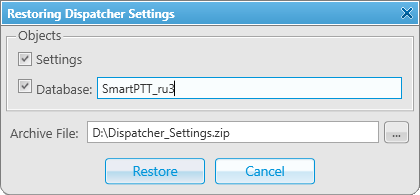
Click Restore.
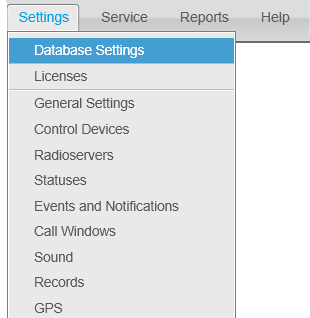
If database was restored as well, then go to Settings -> Database Settings and in the opened window specify new name of the database.

Restart the dispatch console to apply the restored settings.
Comments